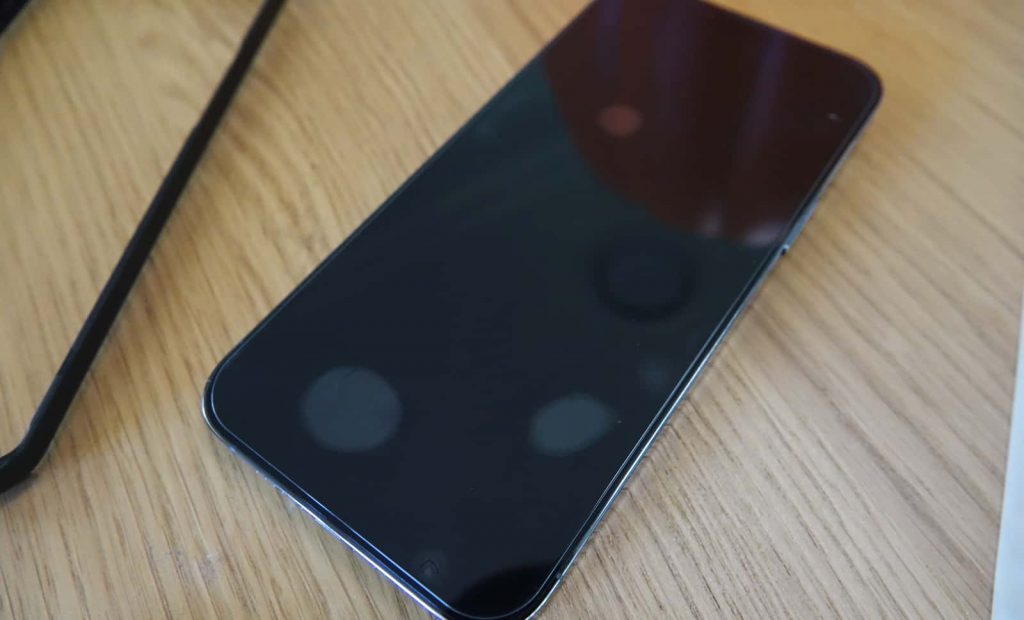
As I glanced at the obvious bubbles and one stray hair on my iPhone 13 screen, I was reminded that I couldn’t install screen protection to save my life. Could I learn how?
Bubbles. They’re great for kids on a hot summer day, for blowing when you’re chewing gum, and is a lovely name for a very excited puppy who will always give you a big smile when you ask.
But bubbles aren’t great under a phone’s screen protector, and produce the sort of frustrated growl Ted Lasso‘s Roy Kent exhibits at the first sign of, well, anything.
A bubble under the screen is a sign you’ve installed your screen protector incorrectly, and inherently frustrating. When all you’re trying to do is keep your phone screen from getting nicked and scratched, and maybe survive one of life’s unexpected falls, a screen protector is there to pick up the pieces. And yet, those bubbles are an indication you’ve done something wrong, and not everyone gets it right.
Fortunately, there may be some tips to get a screen protector installed properly, protecting your screen and potentially your sanity in the process.
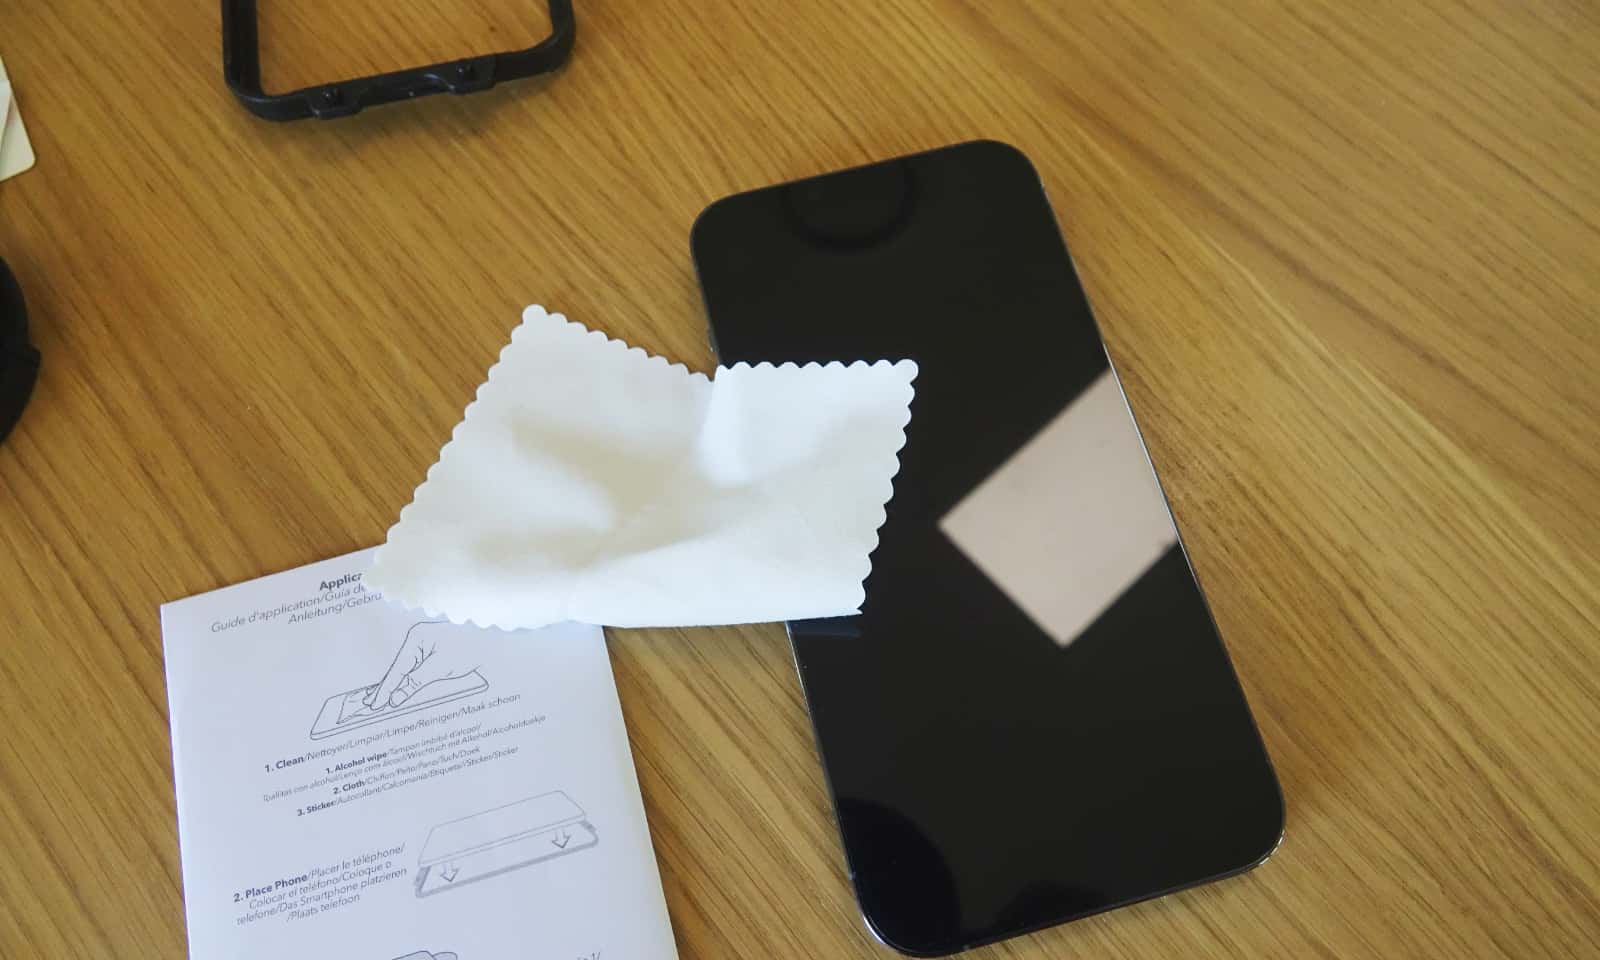
Step 1: Clean your phone’s screen
That process starts with cleaning.
“Don’t overlook the importance of cleaning your device before even picking up your new screen protector,” said a spokesperson for Zagg, maker of the InvisibleShield range of screen protectors. “Dust and particles present on the screen are what is going to contribute to any imperfections of the screen protector application.”
You’ve probably noticed the tiny cleaning cloth and alcohol wipe found in the box of nearly every screen protector, and if you haven’t, it’s possible you have a low-grade screen protector, at that.
Zagg told Pickr that cleaning a phone’s screen was a vital part of the install process, because dust and other fibres could easily get trapped underneath.
Typically, screen protectors come with a small wipe of sorts, but some may also come with a big sticker to let you wipe off any signs of dust found on the surface.
Step 2: Lining it up
Next up is the part not everyone gets right: lining it up.
If you remember way, way, way back to when you were a kid, you might recall if you can cut a straight line. It’s also possible that you’ve blocked all those memories out because you couldn’t cut a straight line. It happens, we get it.
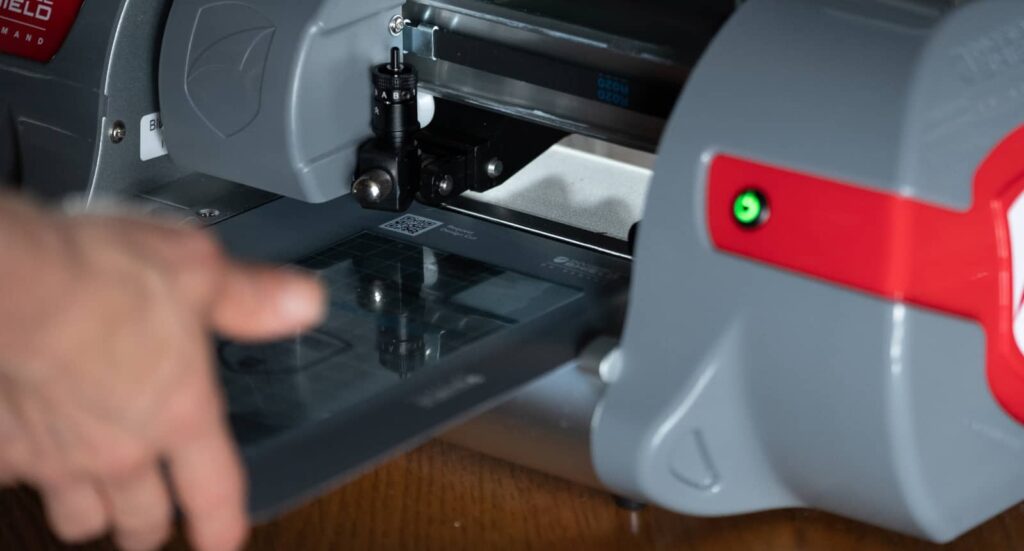
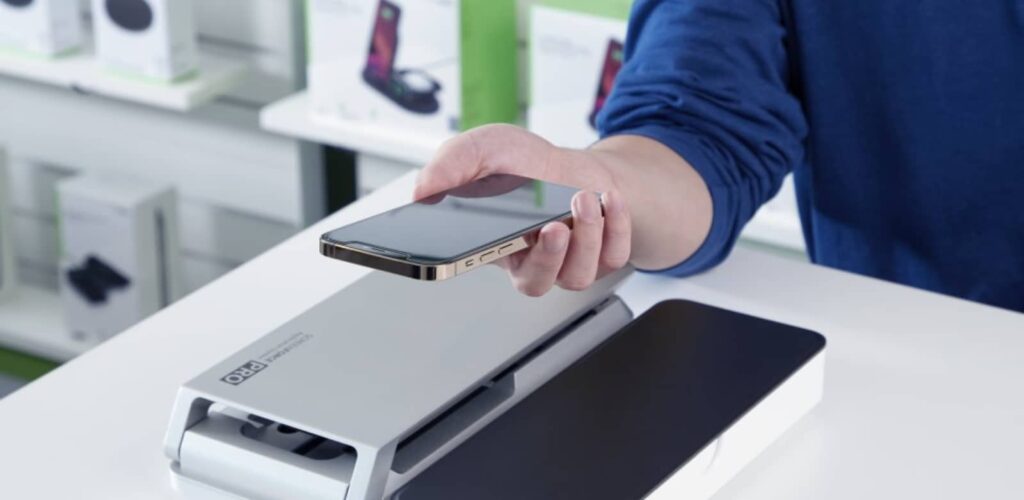
However lining up that screen protector is an important part of what makes these work so well. Depending on who made your screen protector, it may come with an application tray, fitting the specific phone you have.
“If you don’t have a tray available, line the product up as best as possible ensuring any camera cut-outs or notches are correctly aligned,” Zagg told Pickr.
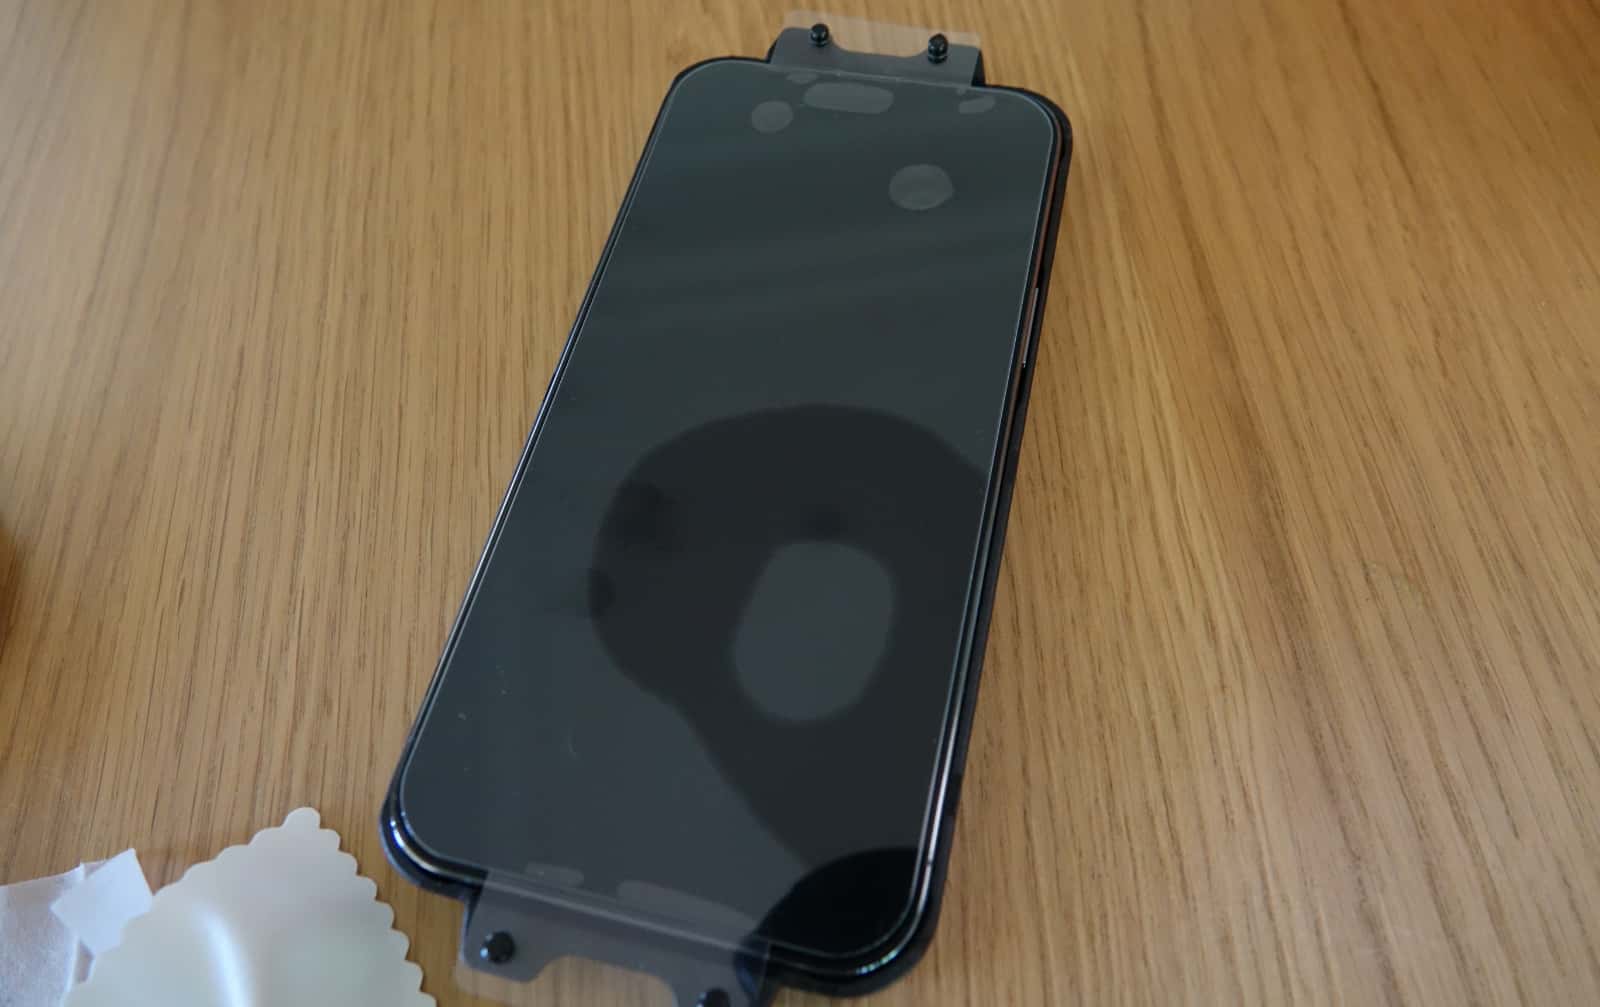
Step 3: Work from the centre
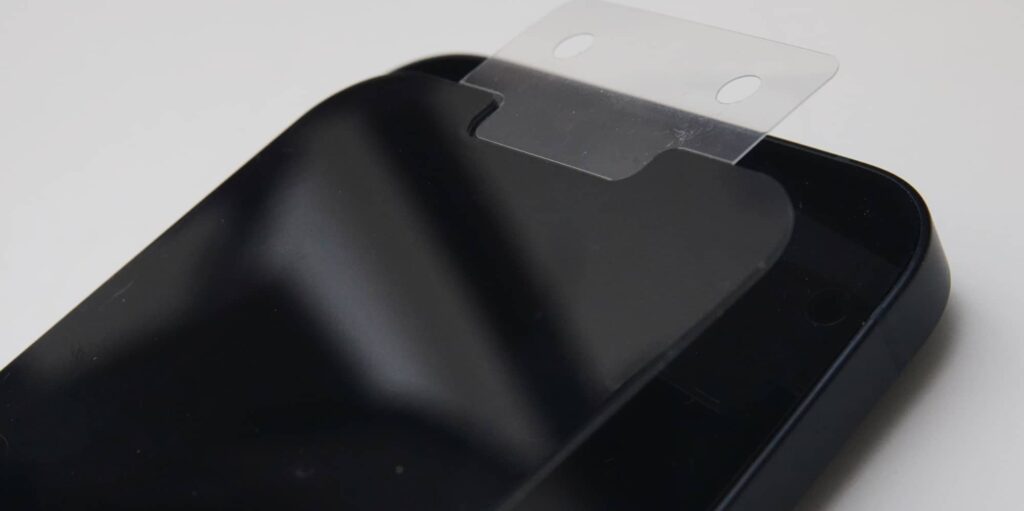
Once you’re ready to apply the sticker that is your screen protector — because that is effectively what it is — it’s time to remove the backing and lay it all down.
When you start doing that, it’s a mad rush to push all the air from between the glass of the phone and the screen protector, making sure to eliminate all the bubbles. But while your natural inclination might be to do this from the top or bottom, Zagg’s experts suggest to work from somewhere else: the centre.
“Work from the centre out and hold the screen protector in place. Press firmly around its edges, making sure you press at the top and bottom, as well as all along any curved edges,” a spokesperson for Zagg said.
If you still have bubbles that aren’t getting out, try using a piece of cardboard or plastic to slide and glide that air bubble out to the edges, freeing it from your phone. Some screen protectors come with this and may call it a “squeegee”, like what you use on windows or car windscreens, and you can think of this as doing that, squeegeeing that air out off your glass.
“If you have a stubborn air bubble, you can gently lift the edge of the protector closest to the bubble and use the squeegee to re-apply that area of the screen protector,” said Zagg.